How to Fix Cracks in Granite Countertops
Granite countertops are popular for kitchens and bathrooms due to their durability, elegance, and ability to withstand wear and tear. However, even the most challenging materials can develop cracks over time due to natural settling, impacts, or temperature fluctuations. Repairing these cracks promptly ensures your countertop remains visually appealing and structurally sound. This comprehensive guide will walk you through how to effectively fix cracks in granite countertops.
Types of Granite Countertop Cracks and Their Causes
Understanding the different types of cracks in granite countertops is essential for diagnosing the problem and choosing the correct repair method. Cracks can vary in severity, from tiny surface imperfections to deep fissures that compromise the integrity of the stone. Below are the common types of cracks you might encounter:
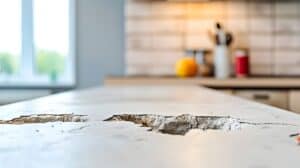
1. Hairline Cracks
Hairline cracks are the most common and often the least concerning. These cracks are fragile and usually only affect the surface of the Granite, making them easy to repair. They are formed due to natural stress, temperature fluctuations, or minor impacts. Hairline cracks rarely affect the overall strength of the countertop but should still be addressed to prevent them from expanding over time.
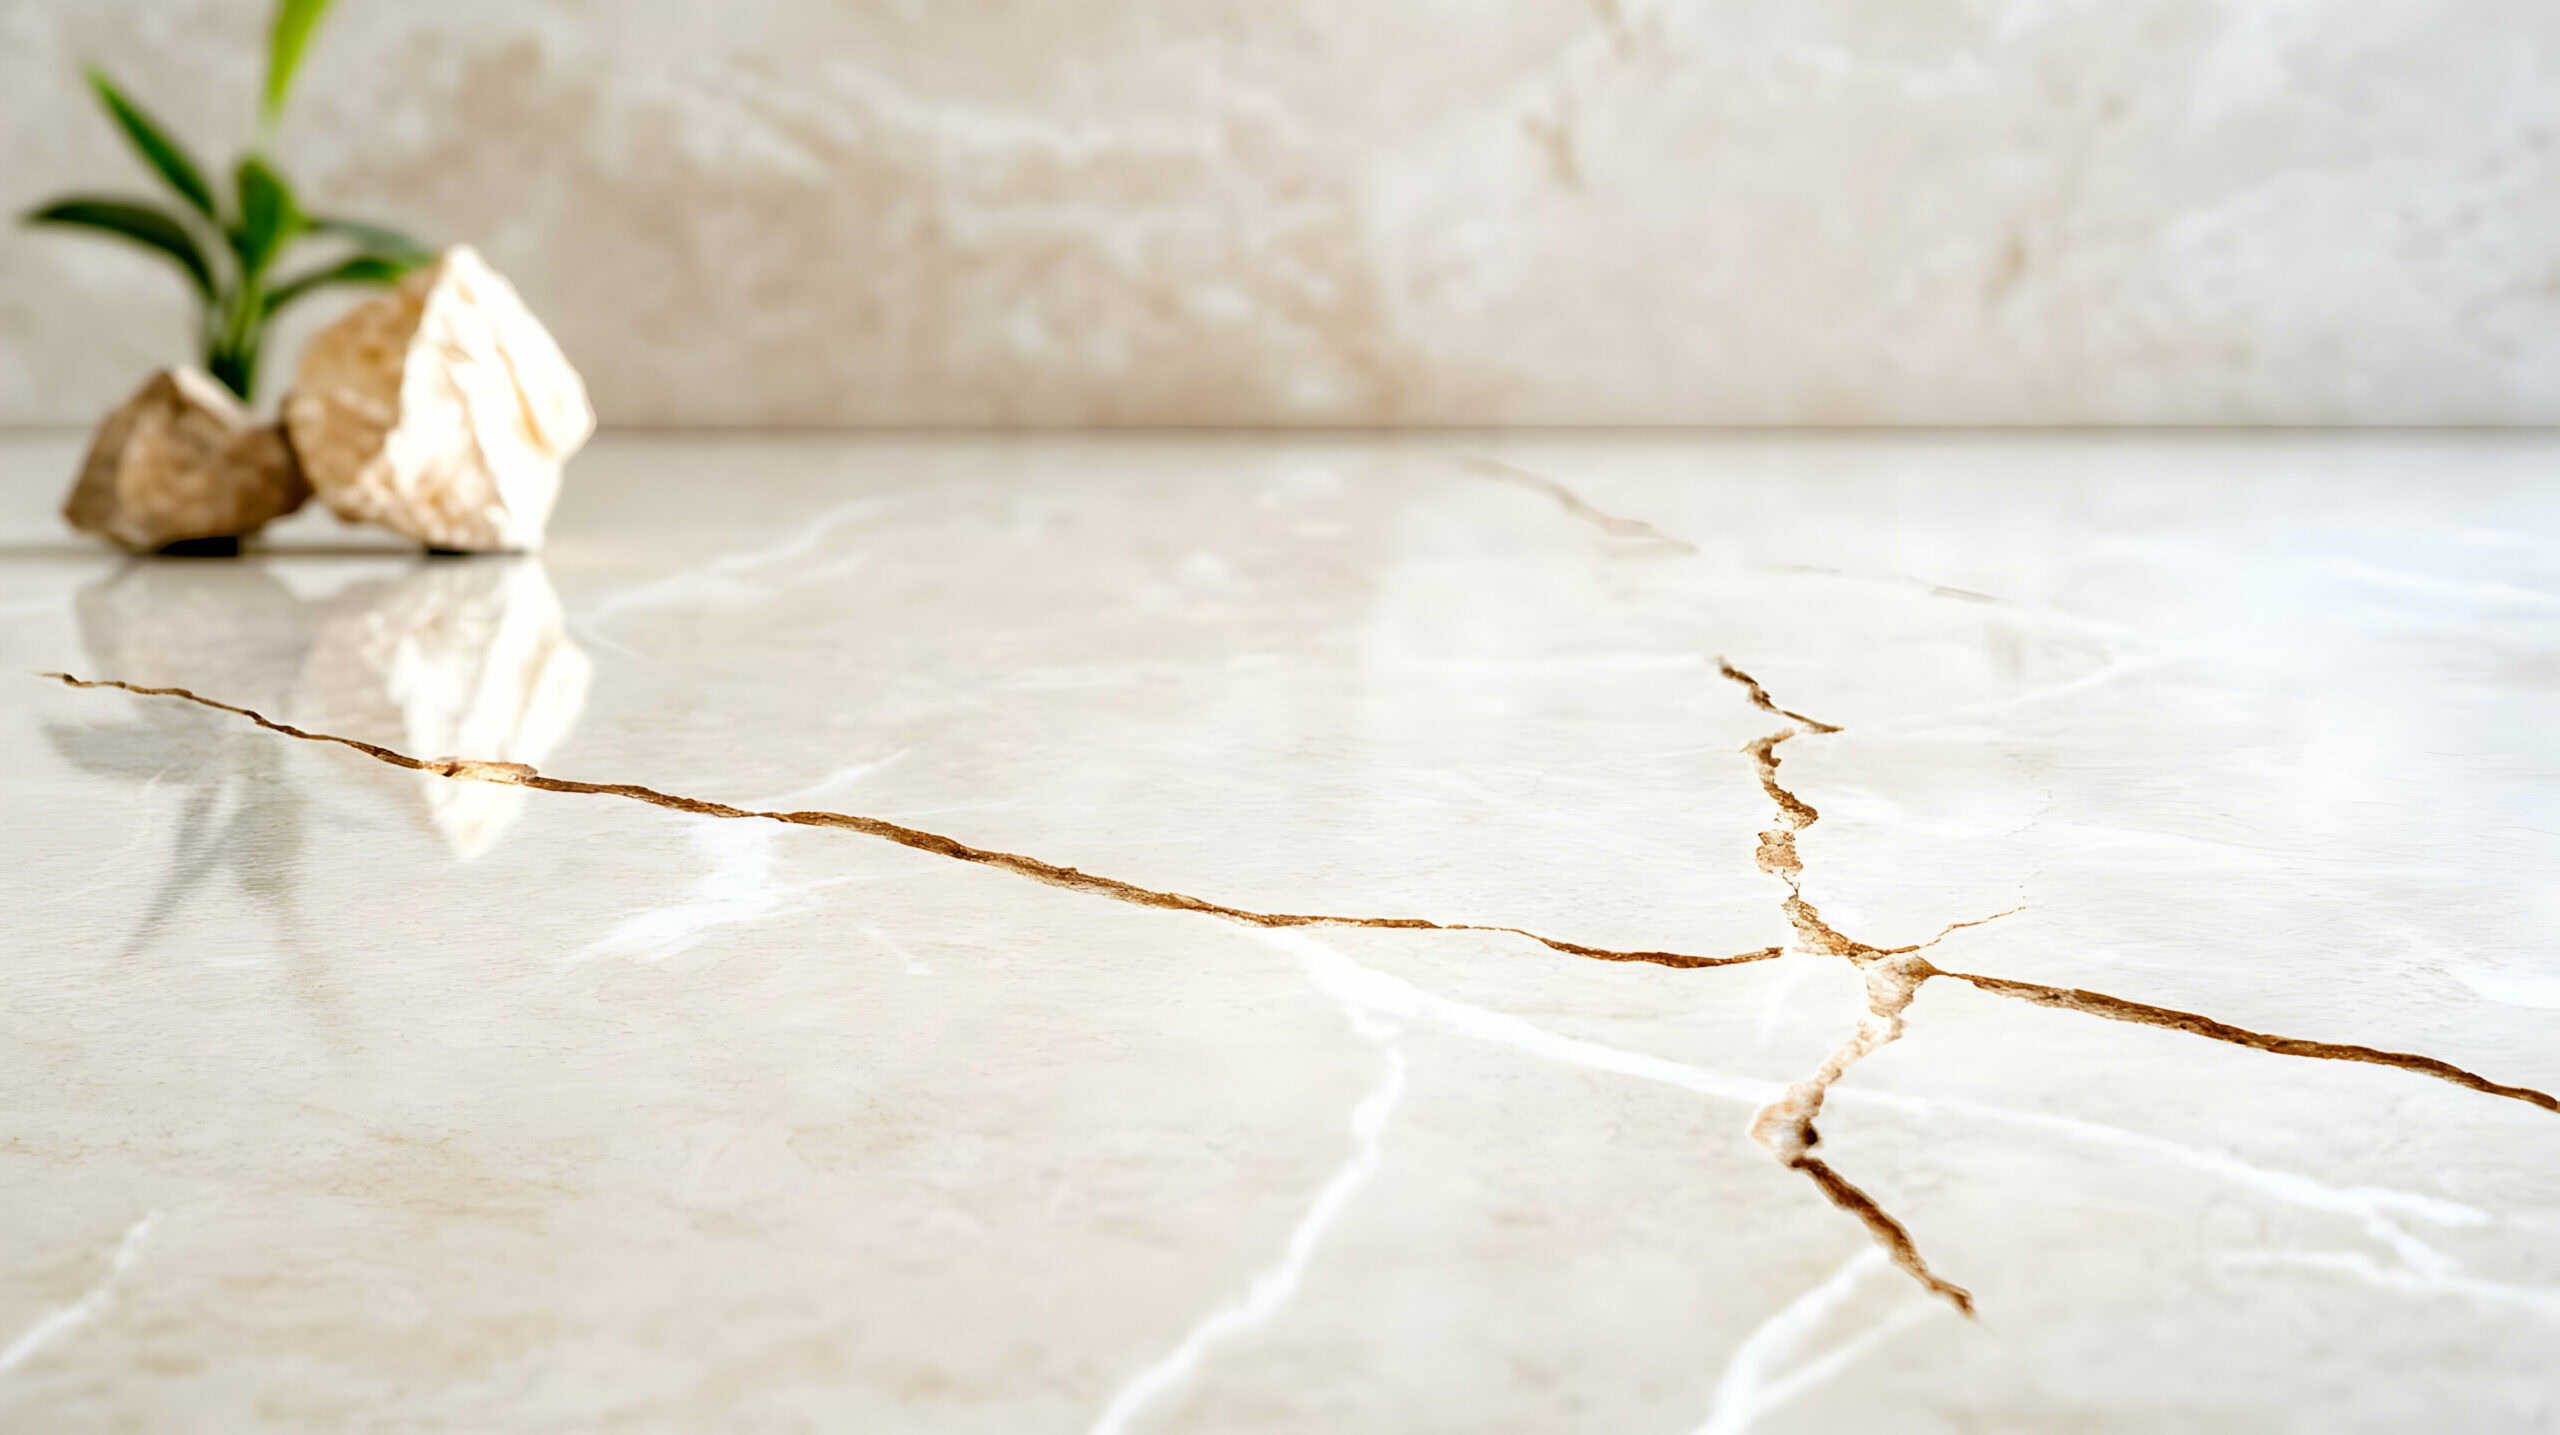
2. Fissures
Fissures are natural imperfections within Granite, often due to the stone’s natural formation process. These cracks resemble fractures but are part of the stone’s structure and typically don’t result from external forces. While they don’t usually pose a structural threat, fissures can become more visible or widen if subjected to additional stress. Depending on their size and location, fissures can be cosmetic concerns or signs that the stone needs further attention.
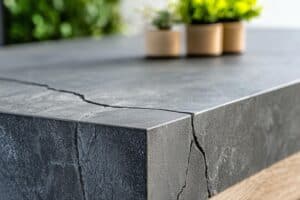
3. Structural Cracks
Structural cracks are the most severe type of crack in granite countertops. These cracks are more profound and extend through the stone, potentially weakening the countertop’s overall stability. They are typically caused by improper installation, excessive weight, or significant impacts, such as dropping heavy objects on the surface. Structural cracks require immediate attention, as they can compromise the countertop’s strength and appearance, often needing more complex repair methods.
Step-by-Step Guide to Fixing Cracks in Granite Countertops
Follow these steps to repair cracks effectively:
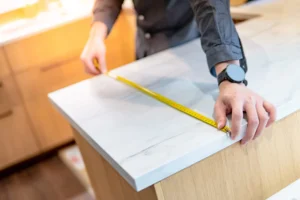
Step 1: Assess the Damage
Start by closely examining the crack to assess its depth and severity. Hairline cracks are often superficial and easy to repair, while structural cracks may need more extensive attention. Determine whether the crack is purely cosmetic or if it compromises the countertop’s stability and strength.
Step 2: Clean the Area
Clean the area around the crack by wiping it down with a cloth dampened with acetone to remove grease, dirt, or debris. This ensures that the repair material will bond properly to the surface. Allow the area to dry completely before proceeding with the following steps to avoid trapping moisture in the crack.
Step 3: Prepare the Repair Area
Use masking tape to carefully outline the crack, protecting the surrounding countertop from excess repair material. This ensures a clean and precise repair without mess. If the crack is deep, you may need to slightly widen it with a utility knife to allow the epoxy to penetrate profoundly and bond effectively.
Step 4: Mix the Epoxy Resin
Purchase a high-quality epoxy resin specifically designed for stone surfaces, either as part of a granite repair kit or separately. Follow the manufacturer’s instructions for mixing the resin to ensure consistency and effectiveness. If necessary, add stone dye to the epoxy to match the color of your Granite for a seamless repair.
Step 5: Fill the Crack
Apply the mixed epoxy resin into the crack using a mixing stick, syringe, or another applicator for precise control. Carefully fill the crack, ensuring the resin covers the damaged area without air bubbles. Once the crack is filled, smooth the surface with a razor blade or utility knife to ensure it is level with the surrounding Granite.
Step 6: Cure the Epoxy
Allow the epoxy resin to cure according to the manufacturer’s instructions, which can take anywhere from a few hours to a full day. Avoid using the countertop or placing heavy objects on the area during this curing period to ensure a strong bond. This step is crucial to ensure the repair fully sets and achieves optimal strength.
Step 7: Sand and Polish
Once the epoxy has fully cured, lightly sand the repaired area using fine sandpaper to smooth any uneven surfaces. After sanding, polish the area with a granite-specific polish or a soft cloth to restore the shine and blend the repair seamlessly with the rest of the countertop. This final touch will leave your granite countertop looking as good as new.
When to Replace Your Granite Countertop Instead of Repairing
While many granite countertop cracks and chips can be repaired, there are situations where replacement may be the more practical and cost-effective solution. Here are some key scenarios where opting for a new countertop might be necessary:
1. Extensive or Irreparable Damage
If the granite countertop has large, deep cracks or widespread damage that affects the overall structure, it may be beyond repair. When cracks extend across large sections or reach through the entire slab, trying to fix them can compromise the countertop’s integrity. In these cases, replacement may be the only viable option to ensure safety and aesthetic appeal.
2. Multiple Repairs Are Needed
If your granite countertop has suffered from several issues over time—such as recurring cracks, chips, or surface damage—the cumulative cost of continuous repairs may exceed the cost of replacing the countertop altogether. Multiple repairs can also lead to an uneven appearance or a patchy look that detracts from the natural beauty of the stone. In this case, investing in a new countertop could be more cost-effective and visually satisfying in the long term.
3. Significant Wear and Tear
Granite countertops, while durable, can show signs of wear after years of use, especially in high-traffic areas like kitchens. Repair efforts might only provide temporary fixes if your countertop has lost its shine, developed multiple surface imperfections, or become heavily stained. Replacing the granite countertop with severe wear and tear cases will restore the surface to its original beauty and functionality.
4. Outdated Design or Style
If your granite countertop is damaged and outdated in style or color, this may be the perfect opportunity to upgrade to a more modern look. Granite trends change over time, and what was once fashionable may no longer suit your home’s aesthetic. Replacing the countertop allows you to repair the damage and refresh your space with a new, more contemporary design.
Replacing the granite countertop in situations where repair is insufficient can provide a long-term solution that restores functionality and style to your kitchen or bathroom. A new countertop can offer better durability and appeal, ensuring your space remains beautiful for years.
How to Safely Remove and Dispose Granite Repair Waste
When performing granite repairs, waste materials must be disposed of safely and environmentally responsible. Improper disposal of repair waste, such as epoxy resin, cleaning agents, and debris, can pose health risks and harm the environment. Follow these guidelines to ensure the safe removal and disposal of waste:
1. Gather All Waste Materials
Start by collecting all materials that must be disposed of, including leftover epoxy resin, used mixing tools, disposable gloves, cloths, and cleaning agents. Also, gather any sandpaper or abrasive materials used during the repair process, as they may contain small stone particles. Ensure that all waste materials are in separate containers to avoid contamination.
2. Dispose of Epoxy Resin and Chemicals Properly
Epoxy resin and other chemicals, such as acetone or cleaning agents, should never be poured down the drain or thrown in the trash. Instead, check the manufacturer’s instructions or local regulations for proper disposal methods. Many areas have special hazardous waste collection centers or services that accept used chemicals, including epoxy resins and solvents. Use these services to dispose of these materials safely.
3. Dispose of Solid Waste
Items like used sandpaper, cloths, and broken Granite should be placed in a sturdy, clearly labeled waste bag or container. Depending on local regulations, solid waste can be disposed of in regular trash. However, if you have large amounts of granite debris, check if your local recycling facility accepts stone waste or contact a contractor specializing in stone disposal.
4. Clean and Reuse Tools When Possible
Some tools used in the repair process, such as mixing sticks or utility knives, can be cleaned and reused for future repairs. To clean these tools, use appropriate solvents (such as acetone for resin removal) and wipe them thoroughly. This will reduce waste and save money on new supplies for your next repair project.
5. Follow Local Disposal Guidelines
Always check with your local waste management facility for any specific guidelines or restrictions on disposing of repair materials. Many municipalities have regulations regarding the disposal of hazardous chemicals, construction debris, and materials like Granite. Following these guidelines ensures you comply with environmental laws and avoid potential fines.
Preventing Future Cracks
1. Proper Installation
Proper installation ensures the granite countertop has adequate support and is evenly leveled, reducing stress on the slab. Weak or uneven support can lead to cracks over time, especially under heavy usage. Always hire a professional installer to ensure the countertop is securely and correctly placed.
2. Avoid Excessive Weight
Granite countertops are firm but not indestructible, and excessive weight on unsupported sections can cause cracks. Avoid standing or sitting on the countertop to prevent unnecessary strain, especially on overhangs or edges. Heavy objects should not be stored or dropped on the surface.
3. Use Hot Pads and Mats
Extreme temperatures can cause thermal stress on granite surfaces, potentially leading to cracks. Always use hot pads under hot pans and mats beneath heavy kitchen appliances to distribute weight evenly. This practice protects the countertop from both heat and pressure damage.
4. Seal the Granite
Sealing Granite regularly strengthens its resistance to moisture, stains, and surface damage. A suitable sealant prevents water or debris from entering natural fissures, which could worsen over time. Depending on usage, sealing should be done every 6 to 12 months for optimal protection.
5. Address Issues Early
Small cracks or chips can grow into more severe damage if left unattended. Prompt repairs help maintain the countertop’s structural integrity and appearance. Regular inspections can help catch minor issues before they become costly problems.
When to Call a Professional
1. The Crack is Extensive or Runs Through the Entire Slab
If a crack is large or spans the entire width of the granite slab, it may compromise the countertop’s structural integrity. These cracks require specialized repair techniques to ensure stability and prevent further damage. A professional can assess the damage and provide a lasting solution to restore the countertop’s strength.
2. The Countertop has Shifted or is Uneven
If your countertop has shifted, settled unevenly, or is no longer at an extended level, cracks can form or worsen. Uneven countertops may also affect your kitchen or bathroom’s appearance and functionality. A professional can realign the countertop, adjust the supports, and address any underlying issues that could lead to further damage.
3. The Repair Requires Advanced Tools or Techniques
Some cracks or damage may require specialized tools like diamond drills to repair correctly. If the repair involves intricate procedures or advanced techniques beyond basic epoxy application, it’s best to seek a professional. Professionals have the right equipment and expertise to ensure the repair is done safely and effectively.
4. You’re Unable to Match the Color of the Repair Material to the Granite
Matching the repair material’s color and texture to the Granite can be challenging, especially with unique or rare stone patterns. If you can’t achieve a seamless match or the repair is noticeable, a professional can provide the right solutions and ensure the repair blends perfectly with the countertop. Professionals have access to high-quality dyes and materials specifically designed for stone repairs.

Conclusion
Granite countertops are a significant investment, and taking care of them ensures they remain beautiful and functional for years. Fixing cracks in granite countertops might seem complicated, but with the right tools, materials, and approach, you can restore your countertop’s appearance and integrity. Whether you tackle the repair yourself or hire a professional, addressing cracks early can save you time and money while preserving the elegance of your granite surface.
If you’re dealing with cracks or damage in your granite countertop, don’t wait for the issue to worsen—take action today! Protect your investment and ensure your granite countertop continues to shine by addressing any problems early. Reach out to Granite Dude for expert advice and quality repairs!