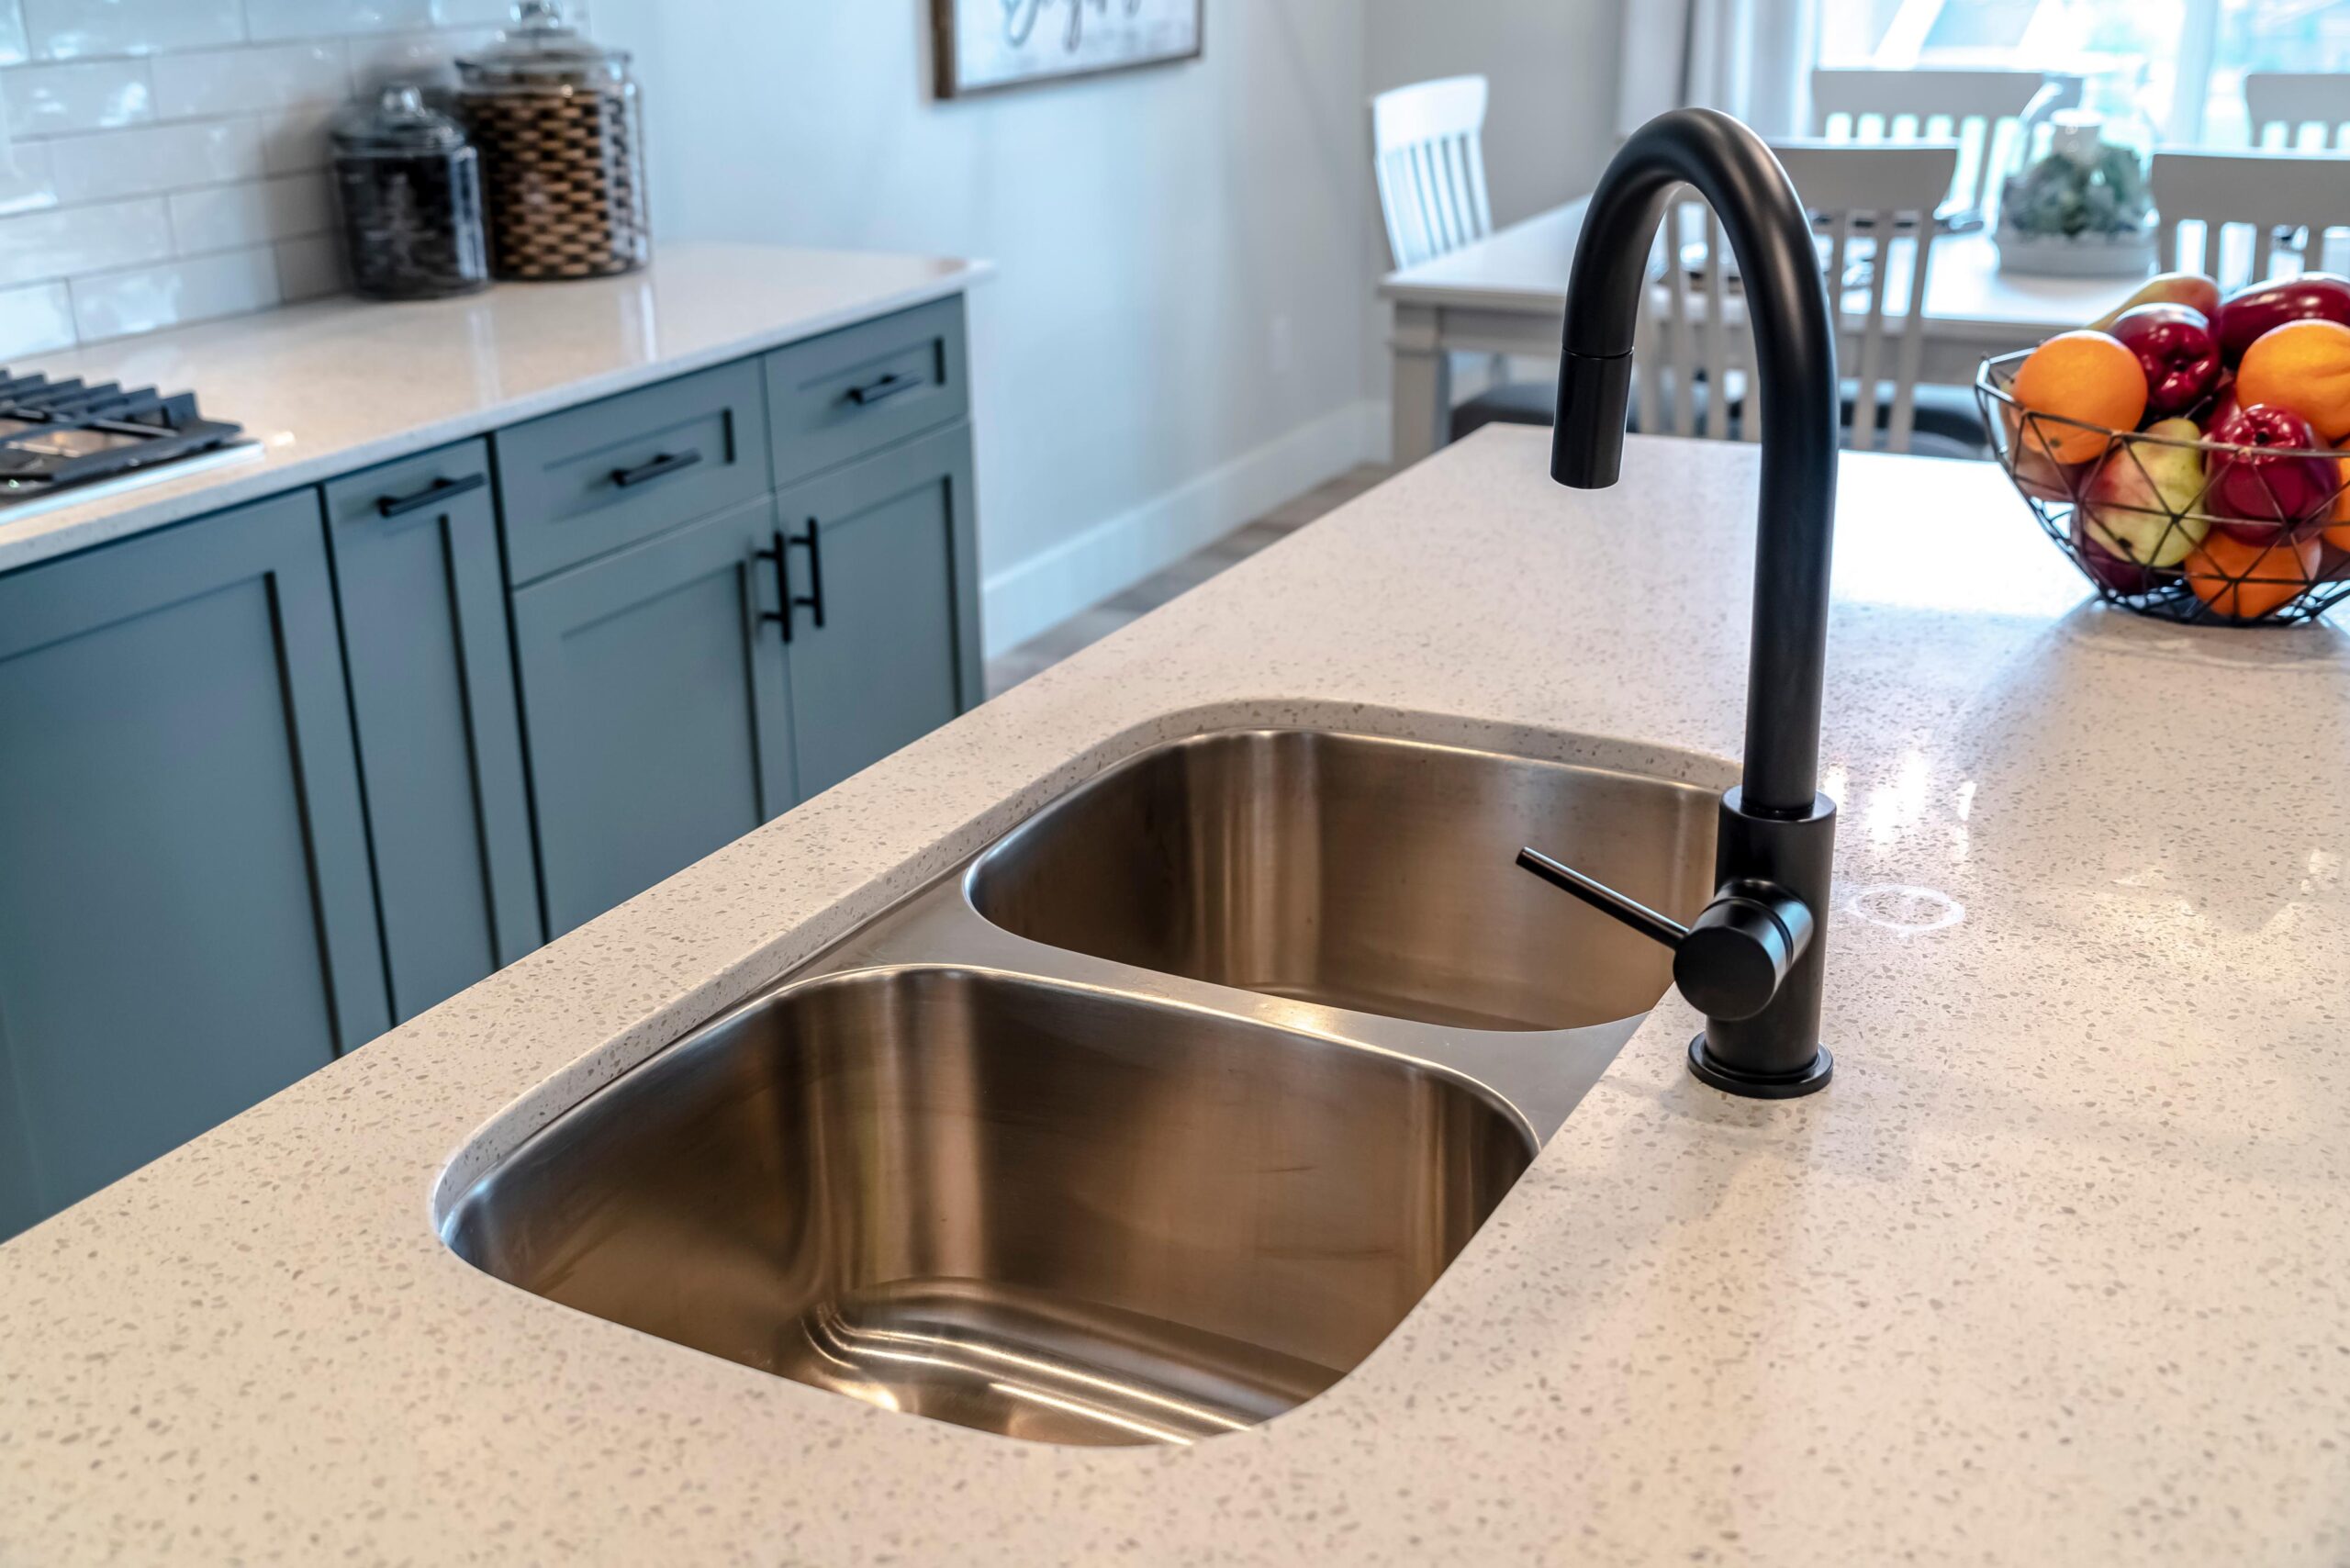
Attaching an under-mount sink to granite typically involves using a combination of adhesive and mechanical supports. So, how to attach an undermount sink to granite?
How to Attach Undermount Sink to Granite
Materials Needed
Here’s a general guide on how to do it and the materials needed:
1. Undermount sink
2. Granite countertop
3. Epoxy adhesive suitable for stone
4. Mounting clips or brackets
5. Silicone caulk
6. Screwdriver
7. Clamps (optional)
Instructions
Here are the step-by-step instructions on how to attach the undermount sink to the granite:
1. Prepare the Sink and Countertop
Proper preparation is vital to successfully installing an undermount sink onto a granite countertop. This crucial step ensures a secure and long-lasting bond between the sink and the countertop, minimizing the risk of future issues such as leaks or instability. To begin with, it is imperative to meticulously clean the sink and the underside of the granite countertop. Any debris, dust, or residues left on these surfaces can compromise the effectiveness of the adhesive and hinder the sink’s ability to adhere firmly to the countertop. By thoroughly cleaning both surfaces, we create an optimal environment for the adhesive to bond effectively, enhancing the overall integrity of the installation.
Dry Fitting
Following the cleaning process, a dry fit of the sink is essential. It involves placing the sink into the countertop cutout without adhesive or mounting hardware to ensure a proper fit and alignment. Dry fitting allows us to verify that the sink fits precisely within the designated space and aligns correctly with the countertop edges. It also provides an opportunity to make any necessary adjustments before proceeding with the installation, saving time and minimizing the risk of errors.
Moreover, dry fitting allows us to assess the aesthetic aspect of the installation, ensuring that the sink’s positioning complements the overall design of the kitchen or bathroom.
Achieving proper alignment and symmetry at this stage is crucial for achieving a visually pleasing result once the installation is complete. By adhering to these preparatory steps, we lay a solid foundation for a successful undermount sink installation onto a granite countertop. We create the ideal conditions for the adhesive to bond effectively through meticulous cleaning and dry fitting, ensuring a secure and durable attachment that enhances the space’s functionality and aesthetics. Proper preparation sets the stage for a seamless installation process and provides the long-term satisfaction of homeowners with their newly installed sinks.
2. Apply Adhesive
Applying adhesive is pivotal in attaching an undermount sink to a granite countertop. This phase demands precision and care to ensure a secure and enduring bond between the sink and the countertop, which is vital for the structural integrity and longevity of the installation.
It is paramount to use an epoxy adhesive specially designed for bonding stone surfaces. Such adhesives are formulated with the unique properties of granite in mind, offering superior strength and durability to withstand the demands of daily use. We ensure optimal performance and longevity by selecting an adhesive explicitly tailored for stone bonding, mitigating the risk of detachment or failure over time.
Applying the adhesive entails delicately dispensing a bead of epoxy around the rim of the sink cutout on the underside of the granite countertop. This process requires a steady hand and meticulous attention to detail to achieve an even and consistent application. The goal is to create a secure seal between the sink and the countertop, preventing potential ingress of water or debris that could compromise the integrity of the installation.
Furthermore, the placement of the adhesive must be precise, ensuring complete coverage along the perimeter of the sink cutout. Adequate coverage facilitates a robust bond between the sink and the granite, distributing the adhesive evenly to maximize its bonding strength. Any gaps or unevenness in the application could compromise the effectiveness of the bond, leading to potential issues such as leaks or instability.
Moreover, the timing of the adhesive application is critical. Applying the adhesive promptly after cleaning the surfaces is imperative to prevent contaminants from compromising efficacy. Additionally, following the manufacturer’s recommended curing time is essential for the adhesive to set properly and achieve its full bonding strength.
3. Mounting Clips or Brackets
Mounting clips or brackets are pivotal in securing an undermount sink to a granite countertop, providing essential support and stability during installation. These components are supplementary reinforcements to the adhesive, ensuring a robust and enduring attachment that withstands the rigors of everyday use. The attachment of mounting clips or brackets begins with a meticulous assessment of the sink’s design and specifications. It is imperative to select clips or brackets compatible with the specific model and dimensions of the sink, as well as the unique characteristics of the granite countertop.
Placement and Installation
By adhering to the manufacturer’s instructions for the placement and installation of these components, we ensure optimal performance and functionality, maximizing the effectiveness of the support system. Once the appropriate clips or brackets have been selected, they are affixed to the sides of the sink with precision and care. This process demands attention to detail, as correctly positioning the clips or brackets is critical to achieving a secure and stable attachment. Careful consideration must be given to factors such as spacing, alignment, and orientation to ensure uniform support and distribution of weight.
Moreover, installing mounting clips or brackets necessitates adherence to the manufacturer’s guidelines and recommendations. It includes following specified torque requirements for securing screws or fasteners, as well as any additional instructions about alignment or adjustment. By meticulously adhering to these instructions, we ensure the proper functioning of the support system and minimize the risk of issues such as loosening or detachment over time.
Furthermore, the role of mounting clips or brackets extends beyond mere structural support; they also facilitate the curing process of the adhesive. Holding the sink in place while the adhesive sets, these components help maintain proper alignment and positioning, ensuring a seamless and uniform bond between the sink and the countertop. This synergy between the adhesive and mechanical supports enhances the overall stability and durability of the installation, providing homeowners with confidence in the long-term performance of their undermount sink.
4. Position the Sink
• Carefully lift the sink into position under the countertop, aligning it correctly with the cutout.
• Press the sink firmly against the underside of the countertop to ensure good contact with the adhesive.
5. Secure the Sink
• If using mounting clips, use a screwdriver to tighten them securely to the underside of the countertop. It will help hold the sink in place while the adhesive sets.
• If needed, use clamps to hold the sink in place while the adhesive cures. Place the clamps strategically around the sink’s perimeter, careful not to damage the granite or the sink.
6. Allow Adhesive to Cure
Allowing the adhesive to cure is critical in attaching an undermount sink to a granite countertop. This phase requires patience and adherence to the manufacturer’s instructions to ensure proper adhesive sets, achieving a solid and durable bond between the sink and the granite. Following the manufacturer’s instructions for the epoxy adhesive curing time is essential.
Epoxy adhesives typically require a specific duration to reach their full bonding strength, and this time frame can vary depending on factors such as temperature, humidity, and the particular formulation of the adhesive. Adhering to the recommended curing time allows the adhesive to undergo the necessary chemical reactions and transformations to achieve its optimal properties.
In most cases, the curing process for epoxy adhesive will take several hours or overnight. This extended duration is necessary to ensure thorough curing and bonding between the sink and the granite countertop. During this time, avoiding any disturbance or movement of the sink is crucial to prevent disruption of the curing process. Maintaining stable environmental conditions, such as consistent temperature and humidity levels, can help facilitate the curing process and optimize the adhesive’s performance.
Proper Curing
Proper curing is essential for a solid and durable bond between the sink and the granite countertop. Rushing the curing process or prematurely disturbing the sink can compromise the integrity of the adhesive bond, leading to potential issues such as leaks, instability, or detachment over time. By allowing the adhesive ample time to cure according to the manufacturer’s instructions, we ensure the reliability and longevity of the installation, providing homeowners with confidence in the durability and performance of their undermount sink.
Moreover, the curing time serves as a critical period for monitoring the progress of the adhesive bond. Visual inspection and bond strength testing may be conducted to verify that the adhesive has fully cured and achieved its desired properties. Any deviations or abnormalities observed during the curing process can be addressed promptly to ensure the integrity of the installation.
Furthermore, proper curing of the adhesive contributes to the overall stability and functionality of the under-mount sink. A fully cured adhesive provides a strong and secure bond between the sink and the granite countertop, enhancing the sink’s resistance to movement, vibration, and other external forces. It ensures reliable performance and longevity, allowing homeowners to enjoy their undermount sink confidently for years.
7. Apply Silicone Caulk
Applying silicone caulk is the final step to attach an undermount sink onto a granite countertop. This critical phase not only enhances the installation’s aesthetics but also plays a crucial role in ensuring its functionality and longevity. By carefully applying a bead of silicone caulk around the perimeter of the sink, where it meets the countertop, we create a watertight seal that helps prevent water from seeping between the sink and the granite, thus safeguarding the integrity of the installation.
Once the epoxy adhesive has fully cured, typically after several hours or overnight, the surface is ready for the application of silicone caulk. This timing is essential as it allows the adhesive to set completely, ensuring a stable and secure bond between the sink and the granite countertop before applying the caulk. Applying the caulk before the glue has fully cured may compromise its effectiveness and lead to issues such as inadequate bonding or premature detachment of the sink.
Preparing the Surface
Before applying the silicone caulk, it is essential to prepare the surface by thoroughly cleaning it to remove any debris, dust, or residue that may interfere with adhesion. Additionally, ensuring that the surface is dry is crucial, as moisture can inhibit the curing process of the caulk and compromise its ability to form a proper seal.
These preparatory steps create an optimal environment for applying the caulk, maximizing its effectiveness and longevity. Precision and care are paramount to achieving a neat and uniform seal when applying the silicone caulk. Using a caulking gun, a bead of caulk is carefully dispensed around the perimeter of the sink, where it meets the countertop. The bead size may vary depending on the gap between the sink and the countertop, but it is essential to ensure that the caulk adequately fills any gaps or spaces to create a watertight seal.
Smooth It Out
After applying the caulk, it is advisable to smooth it out using a caulk smoothing tool or a damp finger to achieve a clean and uniform finish. This step helps ensure proper adhesion and improves the overall aesthetics of the installation. Any excess caulk can be removed using a damp cloth or sponge to achieve a neat and professional-looking seal. Once the caulk has been applied, allowing it sufficient time to cure fully is crucial. The curing time may vary depending on factors such as humidity, temperature, and the specific formulation of the caulk. Following the manufacturer’s instructions for curing time is essential to ensure that the caulk sets appropriately and forms a durable and watertight seal.
8. Final Checks
Double-check that the sink is securely attached to the countertop and that there are no gaps between it and the granite.
– Clean up any excess adhesive or caulk, and allow the silicone caulk to dry completely before using the sink.
These steps should help properly attach an undermount sink to a granite countertop. Use appropriate safety precautions and consult the manufacturer’s instructions for any specific recommendations or requirements for your sink and adhesive.
Consider Professional Installers
Most do-it-yourselfers can learn how to attach an undermount sink to granite. Time and the appropriate instruments are all that are required. Cutting the countertop is the hardest task, especially if it is quartzite or granite. If you need assistance, consider Granite Dude installation services for kitchen or bathroom projects, including undermount sinks.


