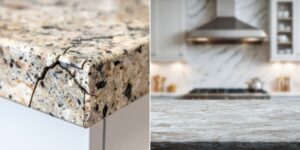
Granite countertops are a classic accent to any kitchen or bathroom and are relatively low maintenance. However, if you move heavy appliances close to your countertops or smash anything, you may notice a little dent on the surface. A chip is a little piece of stone that has been taken from an item by chopping, cutting, or shattering it. So, how to repair granite countertop?
Finding a chip or any damage in your granite countertop can be disheartening, especially given how much time and money you spent searching for the right countertop. Don’t worry or begin looking for a replacement if you detect these imperfections. Instead, you may fill them in by learning how to repair granite countertop chips.
The Prevention
Before we get to repair, let’s discuss prevention.
While things happen, here are a few things you can do to protect your granite countertop from cracks and damage.
Sealing the Surface Every Year
Granite is a porous material. An annual seal is required to ensure its long-term durability. Bacteria penetrate through the stone if it is not sealed at least once per year or two. As a result, it is harmful to your health.
If water or other substances penetrate the porous rock, it may weaken the stone.
Ongoing Maintenance
Users use many cleaning solutions to degrade the seal over time, so knowing which cleansers to use is critical.
Cleaning your granite counters requires only hot water. You can use a specific granite cleaner when cleaning your granite countertop weekly and monthly.
How to Repair Granite Countertop
Repairing Cracked Granite Countertops
Hairline Cracks
Natural hairline cracks occur on granite surfaces. They are little, nearly imperceptible fissures that have no impact on your counter’s cleaning, usage, or quality.
Separated Cracks
Separated cracks, on the other hand, may be seen. They may worsen if nothing is done. You may often repair a split fracture in a granite countertop by filling in the gaps with an epoxy that matches the color.
Some granite specialists even color the epoxy glue with granite dust from where the crack occurs.
If you do it yourself, clean the area well before applying the adhesive.
Also, wrap masking tape around the area to prevent the adhesive from getting on the granite.
After gluing the individual cracks, re-polish the surface to match the rest of the counter. For guests to not notice the fissures, the stone must be polished.
Repairing Damaged Granite Countertops
Etch Marks
Etch marks on granite countertops are common. Larger ones may necessitate the services of a specialist. More minor scars made by a lemon or tomato, on the other hand, are frequently repairable by homeowners.
Begin by thoroughly cleaning the afflicted area. You can use stone soap, but most of the time will be water. It should remove the grime and gunk. Then thoroughly dry the area.
After that, add granite polishing powder to the area and buff it using a variable speed electric drill set to low. Keep the granite powder on the stone while rubbing it, then rinse it.
Resurfacing and Refinishing
The stone may dull with time if you do not clean your granite countertops adequately. You may need to use a countertop polish to shine the granite or refinish the countertop.
The stone’s luster is due to the polish. If the polish does not work, you may need to resurface your granite countertop or build a new countertop.
Fixing Chip in a Granite Countertops
Even though you can pay a professional to repair a granite chip, you can fill the gap if you’re confident. You may restore chipped granite by following these steps:
Clear the Space
Ensure the area surrounding the defect is clean and dry before beginning your granite chip repair process to avoid trapping dirt or debris. Taking the following precautions can help ensure a smooth finish when filling in the little dent:
Clear the clutter: Move any dishes, appliances, or papers elsewhere, so they don’t become stuck from the gel epoxy.
Use only appropriate cleaner: Clean the chipped area with nail polish remover or acetone. You may also use a countertop cleaner with a sealer to protect the counters from further chipping. If you don’t have these products, you can remove sticky residue using mild detergent and water. After cleaning, make sure the surface is arid.
Darken the surrounding area: If the chip lightened the color of the surrounding surface, you might be able to restore its look with a dark permanent marker. This writing instrument dries rapidly, and the mark will persist for a long time on your surfaces. If your stone is light in color, you may not need to modify its appearance. Es, appliances, and papers in another spot so that the gel epoxy does not attach to them.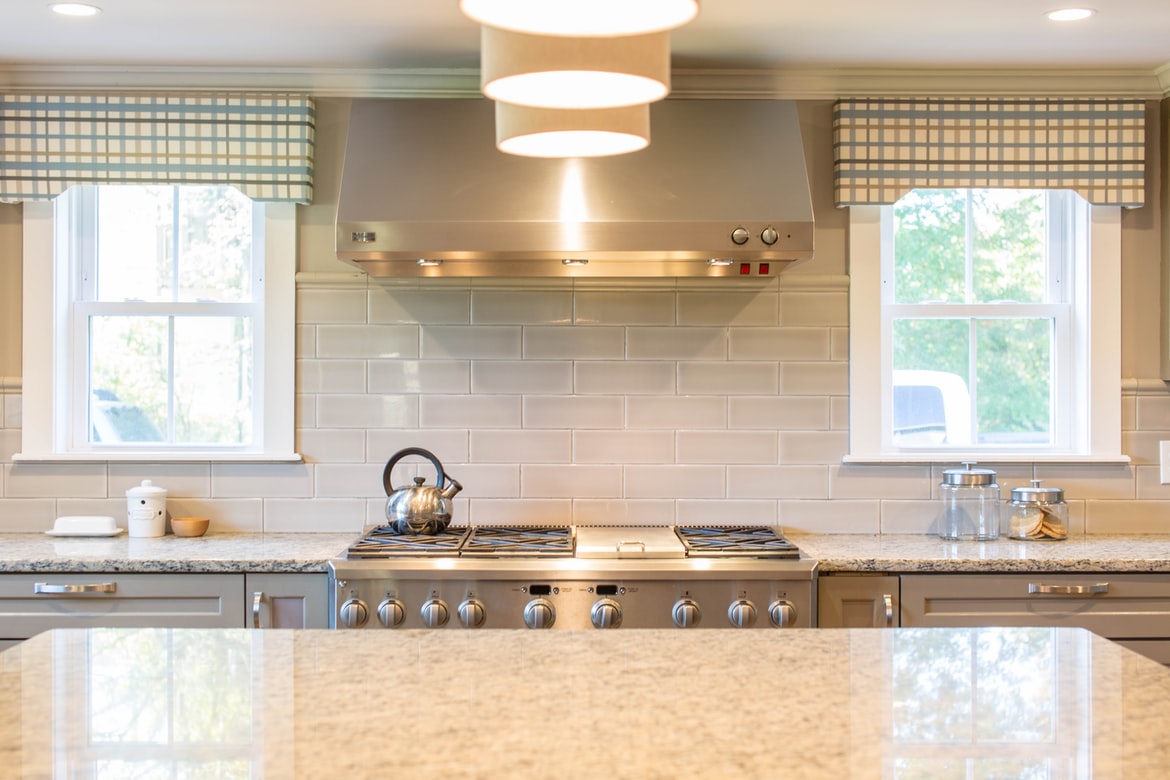
Fill the Chip with Colored Gel Epoxy
Put masking tape to indicate how much gel epoxy to use around the chipped area. You may wish to leave a little gap to allow the epoxy to integrate with the stone surface. Then, using the following guidelines, apply enough gel epoxy to fill up the chip:
Find the proper color gel: If it isn’t the same color as the granite, you may mix in color additives in a disposable plastic cup, using repeated mixes if your granite is speckled. If you don’t have access to these ingredients, you may use transparent epoxy.
Fill the chip with epoxy: A suitable amount will rise slightly above the stone’s surface while remaining flush with the masking tape.
Apply hardening spray: After injecting the epoxy into the granite chip, spray a hardening agent over the injured region. Then, remove any extra spray from the surface around the tape.
Allow the Epoxy to Dry By the Manufacturer’s Directions.
Allow the adhesive to set before cutting it with the razor. Depending on the depth of the chip and the humidity level in your home, the drying procedure might take several hours. If you wish to shorten the time, you can:
Add a Cyanoacrylate glue (CA) accelerator: This inexpensive solution will quickly solidify the epoxy you used to fill the chip. If you’re repairing a light-colored stone, use caution since it might lead the patch to develop a difficult-to-remove green stain.
Apply a hardener spray: A granite countertop hardener can help set the epoxy and reinforce the region around the chip repair.
Excess Epoxy Should Be Removed and the Area Polished
After the epoxy has completely set, you may remove the tape you used to protect the surrounding area and clean it up as follows:
Remove the excess epoxy with a razor blade: You’ll need to remove the extra epoxy to level the defect with the remainder of the countertop. Use the countertop’s surface to help you determine how to angle the razor blade. Shave the adhesive into the stone’s surface with a rapid back-and-forth motion. This technique should take a minute or two and result in a smooth, near-new repair.
Using sandpaper or steel wool, buff the area: If the shine of the filled-in chip does not match the sheen of your stone, apply finishing sandpaper or a buffing compound. A piece of steel wool may aid in the creation of a very smooth surface for this area of your granite countertop.
Apply a granite polisher as a final touch: Put a granite polisher or sealer over the defect to add shine to the region. The sealer can also help to prevent further chipping.
Reattaching Broken Granite Pieces
Choose an Epoxy Material
Begin by deciding on the material that will be used for the repair. Many epoxy resins have been developed expressly to restore granite and natural stone. Choose carefully since some are better for filling cracks than others for patching up shattered sections.
Because epoxy is not always colored, you must consider pigmentation. Some companies provide pigments that can be mixed into epoxy to make it seem like granite. Choose wisely.
As we shall explain in the next part, we choose a somewhat different coloring strategy.
Gather Granite Dust
You can combine granite dust with epoxy for pigmentation to achieve the desired color. Ideally, it would help to acquire granite dust ground from a highly identical slab to yours.
Beveling and polishing granite edges, a frequent activity for countertop fabricators and installers, creates a lot of granite dust; you might try to get the quantity you require from these specialists.
Six teaspoons of granite powder should suffice per foot of fractured area length.
Isolate and Clean Up the Crack Area
Clean the fracture thoroughly with acetone, and then use painter’s tape to create an 18-inch barrier around the entire damaged region. It will aid in the cleanup of any residual epoxy.
Remove any dust and dirt from the fractured regions since they will impede the two sections from bonding together correctly.
Check to see whether the broken section will require more support.
Most granite portions fracture and shatter due to excessive overhang and inadequate support. If this is the case, you must get it repaired to support everything during and after the repair adequately.
Overhangs are often supported using an angle bar or an L-shaped bracket.
Make the Epoxy Mix
Mix the epoxy, which is usually a two-part mix, according to the supplier’s instructions. After that, add granite dust until the paste is the same color as the granite you’re mending.
Apply the First Epoxy Coat
Apply the epoxy to each surface separately, using the same tool you used to mix it. Then attach it, squeezing it together. When the epoxy starts to flow out of the joint, wipe it away with a cloth.
Ascertain Proper Leveling
It would be best if you used shims to guarantee that the original surface and the fractured component are precisely leveled. Tape it with extra painter’s tape if it needs more support.
Allow The First Epoxy Coat To Dry
Ensure that no one comes into contact with the repaired area for the duration of the cure period provided by the contractor. A day or two is typical.
Apply the Second Epoxy Coat
Since most epoxy shrinks as it cures, there will be a minor depression to fill at the junction location. If this is the case, you will need to apply a second layer of epoxy.
Repeat the crack-filling operation to ensure that the surface is as smooth and level as possible.
Allow the second coat of epoxy to dry before proceeding.
Allow the epoxy to dry completely for as long as the manufacturer specifies.
Finishing
After that, the granite surface must be polished once again. It is to sand down the epoxy “scar” and returns the entire surface to its original state.
Is it possible to repair cracked granite yourself?
While it is not impossible to accomplish everything at home, mending broken granite is time-consuming and challenging to perform the first time correctly.
When you include the expense of renting or acquiring polishing equipment, it just becomes ridiculous not to hire professionals.
Look for stone repair pros in your region to assist you; this is your best bet for flawless repair and will save you time.
Conclusion
Repairing granite yourself is not difficult, and you are unlikely to need to do it anyhow. To avoid this, have experts supply and install granite countertops in your house. Granite Dude’s crew is knowledgeable in granite and other stones and will assist you in selecting the best one for your kitchen countertop.
Granite Dude offers access to every granite color and choice available in the valley for your granite countertop, bathroom countertop, or any other granite project. Our Phoenix Granite installation professionals work with you to match the granite color for your kitchen countertop to your current cabinet colors and interior design to ensure the completed granite kitchen countertop gives your kitchen the desired elegance. Today’s popular hues include Star Beach, Lava, Lapidus, and Colonial Cream. We will make it work properly for your project, whatever color you like.